


Maintaining your car’s brakes is crucial for your safety, as well as for extending the life of your braking system. While it’s always a good idea to consult a professional for significant repairs, there are several easy brake maintenance tasks you can perform yourself. Here are the top five DIY brake maintenance tips that every car owner should know. Additionally, using fresh fluid in brake systems is essential to maintain optimal braking performance and avoid costly repairs.
1. Preparing for Brake Maintenance
Before diving into any brake maintenance tasks, it’s essential to prepare both your vehicle and yourself. A well-prepared workspace and the right tools can make the job smoother and safer. Here’s how to get started:
- Clean and Well-Lit Workspace: Ensure your workspace is clean and well-lit. A clutter-free area reduces the risk of accidents and makes it easier to find tools.
- Gather Necessary Tools and Materials: Collect all the tools and materials you’ll need, such as a lug wrench, jack, brake cleaner, and any specific tools mentioned in your vehicle’s owner’s manual.
- Consult Your Vehicle’s Manual: Your vehicle’s manual is a valuable resource. It provides specific instructions and safety precautions for brake maintenance tasks.
- Wear Protective Gear: Safety first! Wear gloves and safety glasses to protect yourself from debris and chemicals.
- Ensure Vehicle Stability: Park your vehicle on a level surface and apply the parking brake. Use wheel chocks if necessary to prevent any movement.
By taking these preparatory steps, you’ll set yourself up for a successful and safe brake maintenance session.
1. Inspect Your Brake Pads Regularly
One of the simplest yet most critical brake maintenance tasks is inspecting your brake pads and monitoring brake pad wear. Worn brake pads can reduce stopping power and damage your rotors. Aim to check your brake pads every 10,000 miles or whenever you notice unusual noises, such as squealing.
It is important to carefully inspect brake pads for wear indicators to ensure vehicle safety.
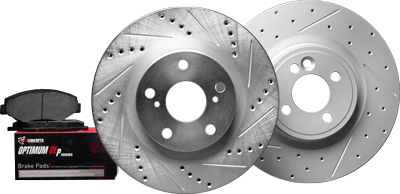
To inspect them, remove the wheel and take a close look at the thickness of the pads. If they are less than a quarter of an inch thick, it’s time to replace them. Installing new brake pads can significantly improve your vehicle’s braking performance and ensure safety. You can opt for high-quality replacements like R1 OPTIMUM OEp Series Brake Pads, known for their durability and reliable performance for daily drivers.
2. Check Brake Fluid Levels
Your braking system relies on hydraulic fluid to operate effectively. Low brake fluid can lead to reduced brake pressure and even total brake failure. Checking your brake fluid is simple: locate the brake fluid reservoir under the hood (refer to your car’s manual), and make sure the fluid is between the “MIN” and “MAX” levels. If it’s low, top it off with the manufacturer-recommended fluid type.
However, if the fluid is dark or dirty, consider having it replaced, as this could indicate moisture or contamination that can lead to corrosion in the system.
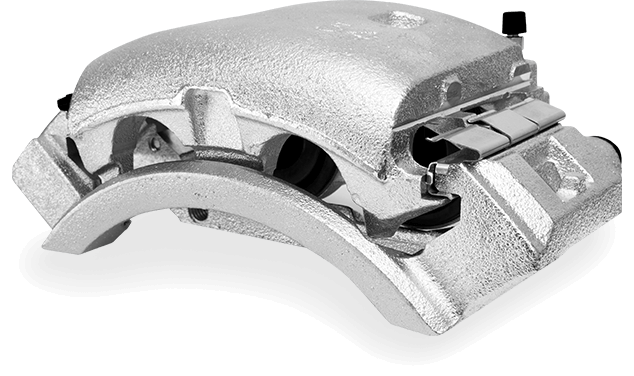
3. Clean Your Brake Rotors
Dirty or rusty brake rotors can impair the efficiency of your braking system. Over time, brake dust, dirt, and rust accumulate on the rotors, causing uneven braking and vibrations. You can clean them yourself using a brake cleaner spray and a clean cloth. Simply spray the cleaner onto the rotor surface and wipe it down.
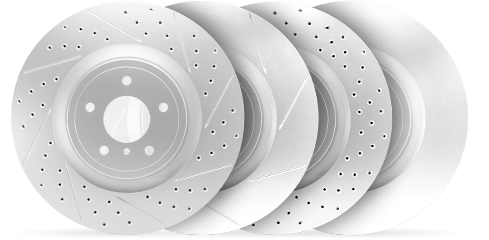
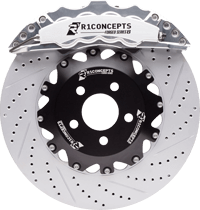
For long-lasting performance, consider upgrading to R1 GEO-Carbon Series Drilled & Slotted Brake Rotors. These rotors are designed to improve braking performance by reducing heat and dissipating brake dust more efficiently.
4. Bleed Your Brakes
If your brake pedal feels spongy, air might be trapped in the brake lines, which can reduce braking performance. Bleeding your brakes is a process that involves removing this air to restore optimal brake pressure. While it may sound intimidating, it’s a task many DIYers can handle with the right tools.
You’ll need a wrench, a clear tube, and a container for brake fluid. Starting with the furthest wheel from the master cylinder, loosen the bleeder valve and let the fluid and air escape while someone presses the brake pedal. Close the valve once the fluid runs clear and air-free.
6. Maintaining the Brake Pedal
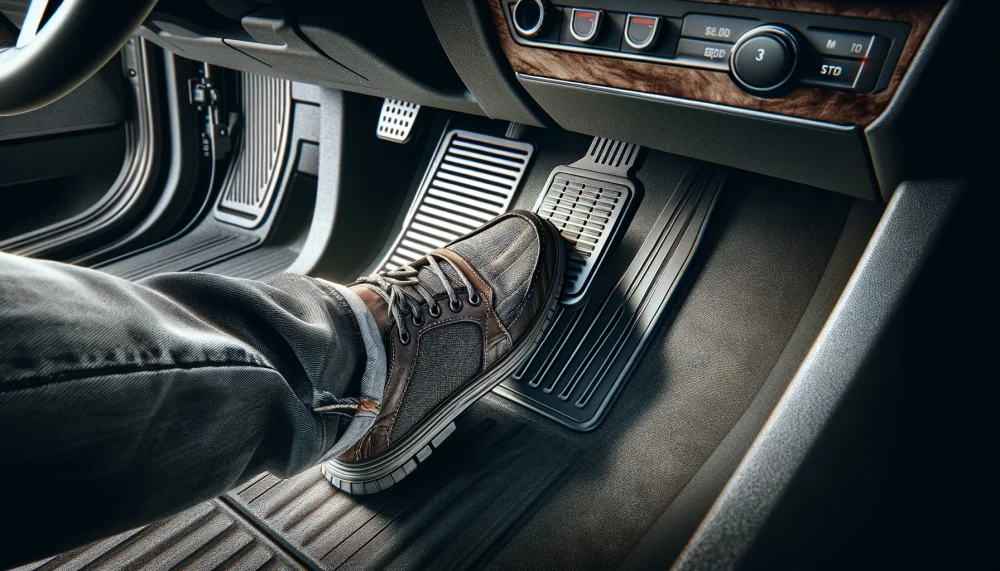
The brake pedal is a vital part of your vehicle’s brake system, and keeping it in good condition is essential for safe driving. Here are some tips to ensure your brake pedal is functioning correctly:
- Inspect for Wear and Damage: Regularly check the brake pedal for any signs of wear or damage, such as cracks or excessive play. A damaged brake pedal can affect your ability to brake effectively.
- Adjust the Pedal Height: Make sure the brake pedal is at the correct height and has the proper amount of free play. An improperly adjusted pedal can lead to braking issues.
- Lubricate Pivot Points: Keep the brake pedal pivot points well-lubricated to ensure smooth operation. This can prevent squeaking and reduce wear.
- Check the Brake Pedal Switch: The brake pedal switch is crucial for activating your brake lights. Ensure it’s functioning correctly and adjust or replace it if necessary.
By maintaining your brake pedal, you can ensure that your brake system responds accurately and efficiently when you need it most.
5. Rotate Your Tires and Inspect Brake Lines

Regular tire rotation is essential not only for even tire wear but also for balanced braking. Uneven tire wear can cause inconsistent braking and put unnecessary strain on your brake components. Rotating your tires every 5,000 to 7,500 miles will help maintain balanced stopping power. Additionally, uneven wear on tires can indicate issues with the brake system, such as sticking pads or caliper problems.
While rotating your tires, take the opportunity to inspect your brake lines for any signs of leaks, cracks, or corrosion. Damaged brake lines can lead to brake fluid loss, which compromises your vehicle’s braking ability. If you notice any issues, it’s best to have them addressed immediately. Inspection methods may vary for other vehicles, so consult your vehicle’s manual or a professional mechanic for specific guidelines.
8. Testing Brakes After Maintenance
After completing any brake maintenance, it’s crucial to test your brakes to ensure they’re working correctly. Here’s a step-by-step guide to testing your brakes:
- Prime the Brake System: Start the engine and pump the brake pedal several times to prime the brake system. This helps to build up brake pressure.
- Initial Test Drive: Drive your vehicle slowly and press the brake pedal to test the brakes. Pay attention to how the brake pedal feels and listen for any unusual noises.
- Check for Issues: Look out for any vibrations, noises, or unusual sensations when applying the brakes. These could indicate issues that need further attention.
- Test Under Different Conditions: Test the brakes at various speeds and under different conditions to ensure they’re functioning correctly. This includes both gentle and hard braking.
Thoroughly testing your brakes after maintenance ensures that your brake system is safe and reliable.
9. Common Brake Maintenance Mistakes
When performing brake maintenance, it’s easy to make mistakes that can compromise the safety and effectiveness of your brake system. Here are some common mistakes to avoid:
- Improper Bleeding: Not properly bleeding the brake system can leave air in the lines, reducing braking performance. Always ensure the brake fluid runs clear and air-free.
- Using Incorrect Brake Fluid: Using the wrong type of brake fluid can damage your brake system and compromise safety. Always use the manufacturer-recommended fluid.
- Incorrect Lug Nut Tightening: Not properly tightening lug nuts can lead to wheel damage or even loss. Use a torque wrench to ensure they’re tightened to the correct specifications.
- Neglecting Regular Inspections: Failing to regularly inspect brake pads and rotors can lead to excessive wear and reduced braking performance. Make it a habit to check these components frequently.
- Ignoring Safety Procedures: Not following proper safety procedures, such as wearing protective gear and ensuring the vehicle is on a level surface, can lead to accidents and injuries.
By avoiding these common mistakes and following proper brake maintenance procedures, you can ensure your vehicle’s brake system is functioning safely and effectively.
Conclusion
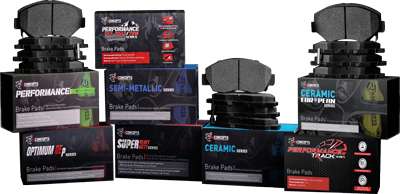
DIY brake maintenance doesn’t have to be complicated. By regularly inspecting your brake pads, checking brake fluid, cleaning rotors, bleeding brakes, and rotating your tires, you can ensure your braking system stays in peak condition. However, if you need to replace any parts, choosing high-quality components like R1 PERFORMANCE Sport Series Brake Pads or R1 GEO-Carbon Series Drilled & Slotted Brake Rotorscan enhance both safety and performance.
Taking care of your brakes now can save you from costly repairs—and more importantly, ensure your safety on the road.
