


Brakes are one of the most critical components of your vehicle. Ensuring your brake pads and rotors are in good condition, and replacing them when necessary, can significantly improve stopping power, safety, and overall vehicle performance. It’s essential to check for uneven wear and corrosion on the brake rotor to maintain optimal brake performance. R1 Concepts offers high-quality brake pads and rotors designed for everything from daily driving to high-performance applications. In this comprehensive guide, we’ll walk you through how to install new R1 Concepts brake pads and rotors on your vehicle, providing all the necessary steps, tips, and safety precautions.
Why Choose R1 Concepts Brake Pads and Rotors?
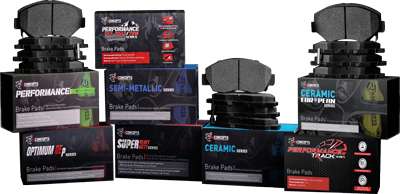
R1 Concepts is renowned for producing high-quality brake pads and rotors designed to enhance braking performance across various driving styles, including daily commuting, towing, off-roading, and racing. Here’s why R1 Concepts is a top choice:
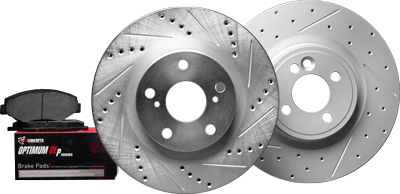
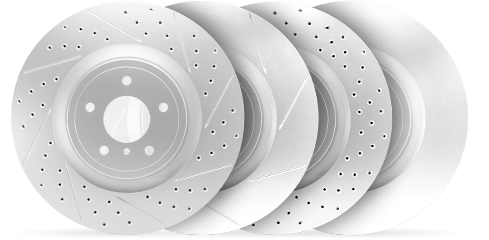
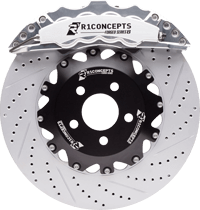
- Superior Stopping Power: R1 Concepts’ drilled and slotted rotors improve brake cooling and deliver consistent stopping power by dissipating heat and gases more efficiently.
- Durability and Longevity: The GEO-Carbon and eLINE Series rotors are coated for corrosion protection, extending their life, even in harsh conditions. Regular vehicle upkeep, including replacing brake rotors when signs of wear appear, is crucial for maintaining optimal braking performance.
- Quiet and Smooth Operation: R1 Concepts brake pads, particularly the ceramic series, are engineered for quiet, low-dust performance, keeping your wheels cleaner and providing a smooth braking experience.
- Easy Installation: R1 Concepts brake products are designed for plug-and-play installation, meaning no major modifications are necessary.
Pre-Installation Checks
Before starting the brake pad replacement process, it’s essential to perform some pre-installation checks to ensure a smooth and safe installation.
Signs You Need to Replace Brake Pads
Recognizing the signs that your brake pads need replacing can prevent more serious issues down the road. Here are some common indicators:
- Squealing or Grinding Noises: If you hear squealing or grinding when applying the brakes, it’s a clear sign that your brake pads are worn out and need replacing.
- Spongy or Soft Brake Pedal: A brake pedal that feels spongy or soft when pressed can indicate that the brake pads are thin and not providing adequate friction.
- Vibrations or Pulsations When Braking: If you feel vibrations or pulsations through the brake pedal, it could mean that the brake pads are unevenly worn or the rotors are warped.
- Visible Wear on the Brake Pads: Inspect the brake pads through the wheel spokes. If they appear less than 1/8 inch thick, it’s time for a replacement.
- Illuminated Brake Warning Light: If the brake warning light on your dashboard is illuminated, it’s a sign that your brake system needs attention, possibly due to worn brake pads.
If you notice any of these signs, it’s time to replace your brake pads to ensure your vehicle’s braking system remains effective and safe.
Preparation and Safety
Before starting the installation process, make sure you have the necessary tools and equipment, and take the necessary safety precautions.
Safety First
Safety should always be your top priority when working on your vehicle. Here are some essential safety tips:
- Wear Protective Gloves and Safety Glasses: Protect your hands and eyes from debris and chemicals by wearing gloves and safety glasses.
- Park on a Level Surface and Apply the Parking Brake: Ensure your vehicle is on a flat, stable surface and engage the parking brake to prevent any movement.
- Block the Wheels with Wheel Chocks: Place wheel chocks behind the wheels to prevent the vehicle from rolling while you work.
- Use a Jack Stand to Support the Vehicle: Never rely solely on a hydraulic jack. Use jack stands to support the vehicle’s weight and ensure it’s stable.
- Check the Brake Fluid Reservoir: Make sure the brake fluid reservoir is at the recommended level. This is crucial as you’ll need to monitor the brake fluid level throughout the installation process.
By following these safety precautions, you can create a safe working environment and reduce the risk of accidents.
Tools and Parts You’ll Need for Installation
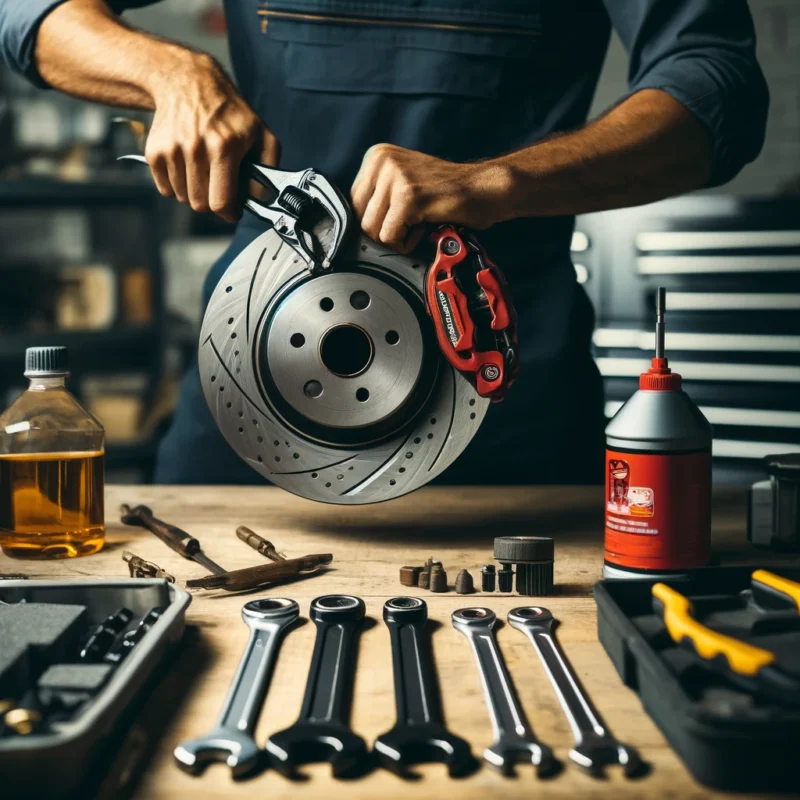
Before you begin, it’s important to gather all the necessary tools and parts to make the brake pad and rotor installation process as smooth as possible. Here’s what you’ll need:
- R1 Concepts Brake Pads and Rotors (matching your vehicle’s specifications)
- Brake Fluid (to top off the reservoir if necessary)
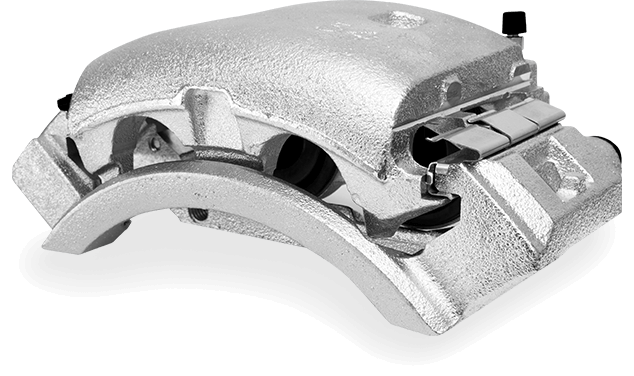
- Caliper Piston Clamp or C-Clamp (for compressing the brake piston)
- Jack and Jack Stands (rated for the weight of your vehicle)
- Socket Wrench Set (for removing and installing bolts)
- Torque Wrench (to tighten bolts to the manufacturer’s recommended specifications)
- Bungee Cord or Caliper Hanger (to hang the caliper and prevent strain on the brake hose)
- Wire Brush or Hub Cleaning Tool (to clean rust or debris off the hub)
- Anti-Seize Lubricant (for ease of future rotor removal)
- Safety Glasses and Mechanic Gloves (to protect your eyes and hands)
Step-by-Step Brake Rotor Replacement Tutorial and Installing Brake Pads
Step 1: Preparing Your Vehicle and Checking the Brake Fluid Reservoir
- Park the vehicle on a hard, level surface. Set the parking brake to prevent movement.
- Check the brake fluid level in the reservoir. It should be between the minimum and maximum lines. This step is important as the fluid will rise when you compress the caliper pistons later.
- Loosen the lug nuts slightly while the vehicle is still on the ground. This will make it easier to remove the wheels once the car is lifted.
Step 2: Lifting and Securing the Vehicle
- Lift the vehicle using a jack positioned at the manufacturer-recommended jacking points. Refer to your vehicle’s owner manual for these locations.
- Secure the vehicle with jack stands. Never rely on a hydraulic jack alone; always use properly rated jack stands to support the vehicle’s weight.
- Remove the wheels by fully unscrewing the lug nuts. Place the wheel and tire assembly underneath the vehicle frame for added safety, in case a jack stand fails.
Step 3: Removing the Brake Components
- Remove the caliper guide pin bolts with your socket wrench. These bolts hold the caliper in place on the brake bracket.
- Remove the caliper and suspend it using a bungee cord or caliper hanger. Never let the caliper hang from the brake hose, as this could damage the hose and lead to brake failure.
- Remove the caliper bracket bolts to take off the entire caliper mounting bracket. This gives you access to the rotor.
- Remove the rotor. If rust has seized the rotor to the hub, use a rubber mallet to gently tap the rotor and free it from the hub. Be sure to tap both the front and back sides to loosen any rust.
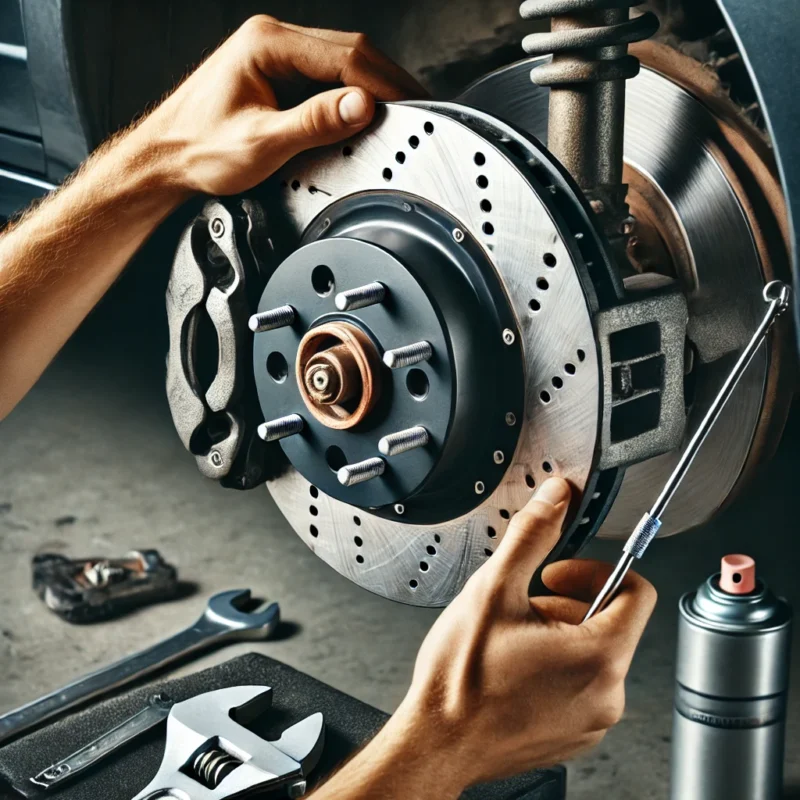
Step 4: Installing the New R1 Concepts Brake Pads and Rotors
- Clean the hub surface using a wire brush or hub cleaning kit to remove rust and debris. A clean hub surface is crucial for preventing rotor runout, which can cause vibrations during braking.
- Apply a thin layer of anti-seize to the face of the hub. This will make it easier to remove the rotor during future maintenance.
- Place the new R1 Concepts rotor onto the hub. Align it correctly with the wheel studs.
- Reattach the caliper bracket and torque the bolts to the manufacturer’s specifications. This ensures the bracket is securely in place and won’t cause any vibrations.
- Compress the brake caliper piston using a C-clamp or piston compression tool. Place a used brake pad against the piston for even pressure and compress slowly to avoid damaging the system. Retracting the pistons is necessary to create space for thicker brake pads.
- Install the new R1 Concepts brake pads. Ensure the pads are properly seated in the caliper, and check whether you need to install new hardware (such as shims or clips).
- Reinstall the caliper over the brake pads and rotor. Be careful not to twist or kink the brake hose. Secure the caliper bolts and torque them to the manufacturer’s recommended settings.
Step 5: Reassembling the Brake System
- Reattach the wheels, and hand-tighten the lug nuts in a crisscross pattern. This prevents uneven pressure on the rotor and ensures smoother braking. While reattaching, take a moment to inspect both the front and rear brake pads for any signs of wear, such as squealing or grinding noises, and replace them if necessary.
- Lower the vehicle back to the ground using the jack.
- Fully tighten the lug nuts to the manufacturer’s specified torque. Again, use a crisscross pattern to avoid uneven tightening, which could lead to vibrations.
Step 6: Brake-In Procedure (Bedding-In the Brakes)
After installing new R1 Concepts brake pads and rotors, performing a proper brake-in (or bedding-in) procedure is crucial for optimal performance. Here’s how to do it:
- Accelerate to 35 mph and then apply moderate brake pressure to reduce speed to about 5 mph. Do not come to a complete stop.
- Repeat this process 4-5 times.
- Then, accelerate to 45 mph and apply stronger brake pressure to reduce speed to around 10 mph. Again, avoid stopping completely.
- Repeat this cycle another 4-5 times.
- After the final cycle, drive for several minutes at moderate speed to allow the brakes to cool down.
This bedding-in process allows the brake pads to transfer a thin layer of friction material onto the rotor, ensuring consistent braking and extending the lifespan of your brake components.
Final Checks and Testing
After completing the installation, perform the following final checks and testing to ensure the brake pads are installed correctly and functioning properly.
Pump the Brakes
Once the new brake pads and rotors are installed, it’s important to prime the brake system and check for any issues:
- Pump the Brake Pedal: Press the brake pedal several times to build up pressure in the brake system. This helps to seat the new brake pads against the rotors.
- Check for Leaks: Inspect the brake lines and connections for any signs of brake fluid leaks. Address any leaks immediately to prevent brake failure.
- Test the Brakes: Drive the vehicle at a slow speed and apply the brakes gently. Listen for any unusual noises and feel for vibrations or pulsations. This initial test helps ensure that the brake pads are seated correctly and functioning as expected.
By following these final checks and testing procedures, you can ensure a successful brake pad replacement and a safe driving experience. Regularly monitoring your brake system and addressing any issues promptly will help maintain optimal braking performance.
Common Mistakes to Avoid During Installation
- Not Using Jack Stands: Never work under a vehicle supported only by a hydraulic jack. Always use jack stands to prevent accidents.
- Letting the Caliper Hang by the Brake Hose: Always support the caliper with a bungee cord or hanger to avoid damaging the brake hose.
- Skipping the Hub Cleaning Step: Installing a new rotor on a dirty hub can lead to rotor runout, causing brake pedal pulsation and vibrations.
- Forgetting the Brake-In Procedure: Skipping the brake-in process can result in uneven pad material deposits on the rotor, leading to reduced braking efficiency and noise.
- Not Checking for Sticking Caliper Piston: Failing to check for a sticking caliper piston can cause uneven wear on brake pads. This issue can arise from a lack of lubricant or worn caliper hardware, affecting the overall performance and efficiency of the braking system.
How to Ensure Maximum Performance from Your New Brakes
- Check Brake Fluid Levels Regularly: After installation, check and top off the brake fluid as necessary.
- Inspect for Brake Pad Wear: Periodically check the brake pads for even wear, especially if you notice any changes in braking performance.
- Regular Maintenance: Keep an eye on the condition of your rotors and pads, especially if you drive in harsh conditions such as rain, snow, or off-road terrain. Incorporating DIY brake pad replacement into your routine can enhance vehicle safety and performance while saving on maintenance costs.
By following this comprehensive installation guide, you’ll enjoy enhanced braking performance, safety, and durability with your new R1 Concepts brake pads and rotors. Whether you’re an experienced DIY mechanic or trying this for the first time, the process is straightforward, and the results are worth it.
