Self-adjusting drum brakes play a critical role in your vehicle’s safety by ensuring consistent braking power even as components wear. Understand “how do self adjusting drum brakes work” by learning about the adjuster lever, star wheel, and their role in maintaining the necessary clearance between brake shoes and drum. This article offers a clear walkthrough of their operation without overwhelming technical jargon.
Key Takeaways
Self-adjusting drum brakes automatically maintain the optimal distance between the brake shoes and drum to compensate for wear, with the adjuster lever and star wheel as critical components in the adjustment process.
Initial manual adjustment of drum brakes is crucial for setting the base for the self-adjustment mechanism, and regular maintenance is needed to keep the brakes operating efficiently and safely.
Despite the self-adjustment feature, drum brakes require regular inspections and manual adjustments to ensure peak condition, involving specific tools like a brake spoon, and adherence to safety practices during maintenance.
Decoding the Self-Adjusting Drum Brake System
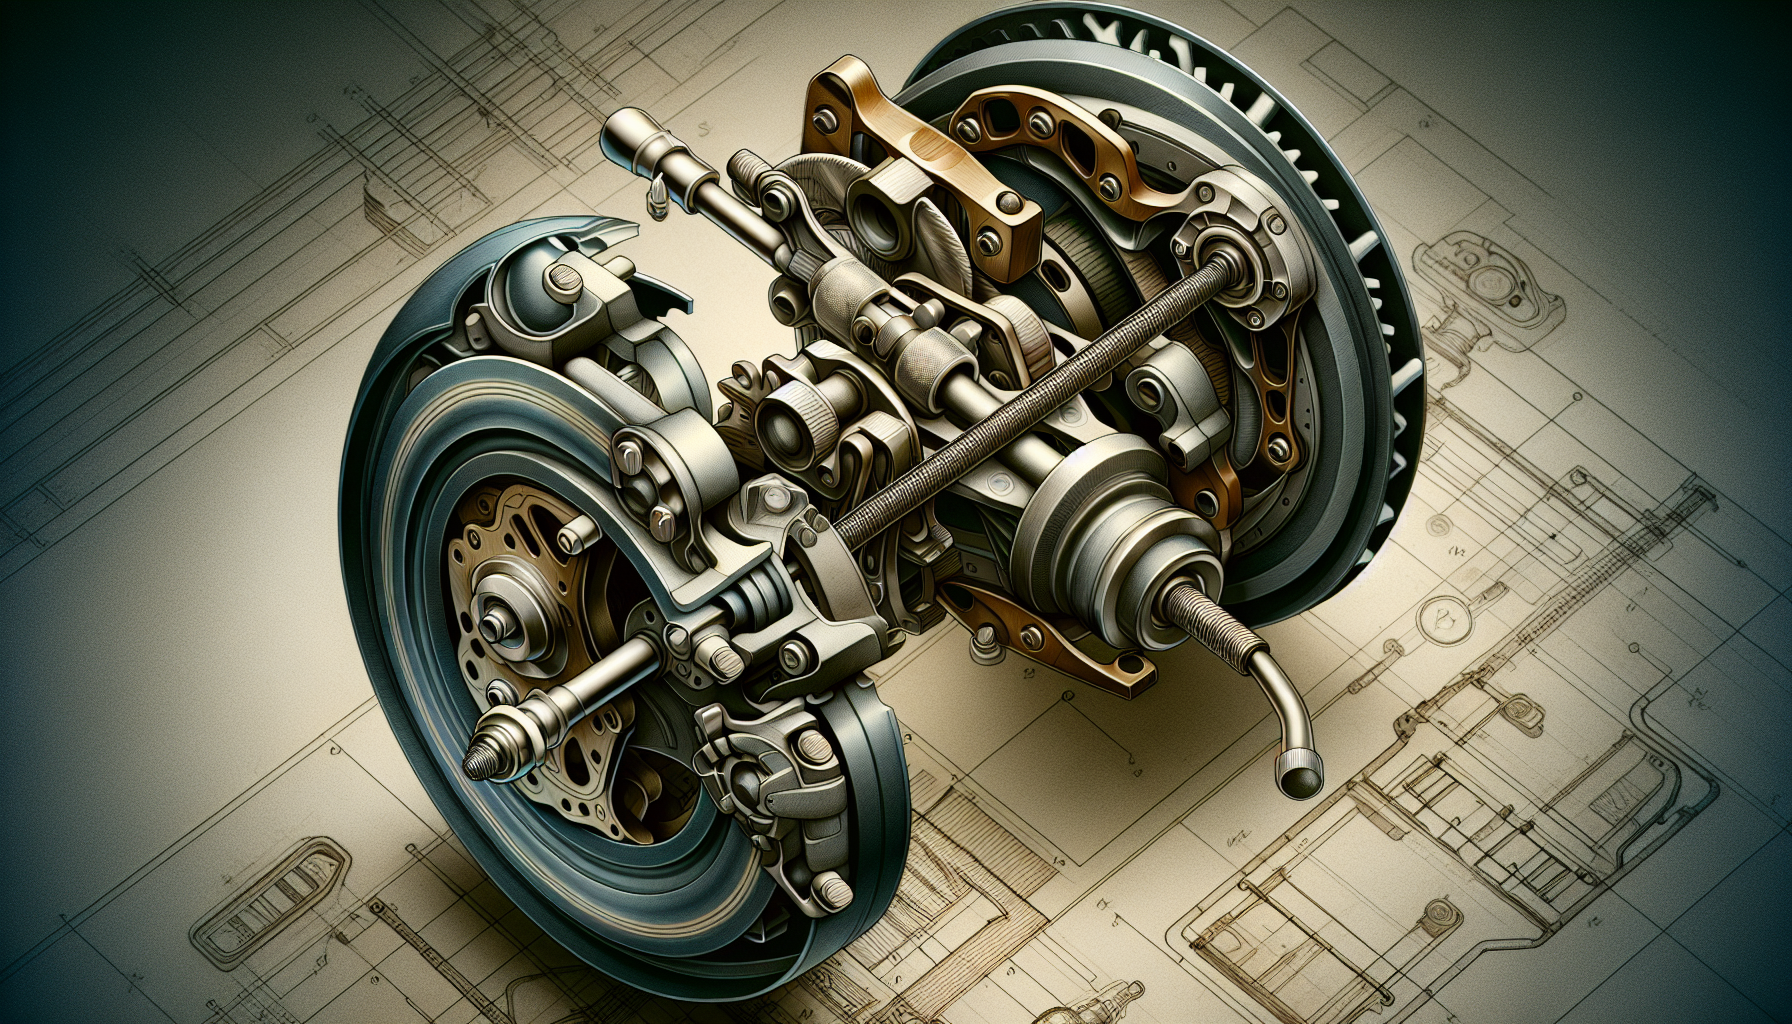
Central to your vehicle’s braking system are the self-adjusting drum brakes. Their function is to autonomously ensure that there’s optimal space between the brake shoes and drum, adjusting for any wear over time. This ensures consistent and reliable braking performance. The necessity of this automatic adjustment arises because it’s crucial that as the brake shoes reduce in thickness through use, they remain close enough to the drum to provide efficient stopping power.
The key players enabling this autonomous compensation are two integral parts: the adjuster lever and star wheel. These elements work seamlessly ensuring that even as your brake components experience wear, your brakes maintain their effectiveness without fail.
The Adjuster Lever and Star Wheel Explained
Within your braking system, the adjuster lever holds a pivotal role by nudging the adjuster gear forward one tooth whenever there’s an expansion of space between the brake drum and shoe during reverse stops. As this occurs, the screw-threaded adjuster mechanism turns slightly to compensate for this gap resulting from wear on the brake shoes.
Conversely, critical to ensuring that any rotation serves only to tighten against the drum is another integral part called star wheel within this same adjustment setup. A brake spoon can be used via an access slot specifically designed for such adjustments. The coordination between the star wheel and adjuster lever allows for meticulous incremental repositioning of each brake shoe so it maintains proper engagement with its corresponding drum surface. Anchoring these components in their functional synchronization is crucially undertaken by what’s known as a wheel cylinder—a central element essential for optimal performance across all aspects of your vehicle’s braking process.
Types of Self-Adjusting Drum Brakes
Variations in self-adjusting drum brake systems are apparent through designs such as duo-servo and leading-trailing shoe configurations. The duo-servo design harnesses the friction generated during braking to press the shoes more firmly against the drum, thereby enhancing braking power. Unlike disc brakes, frequent adjustments are often necessary for maintaining optimal performance of drum brakes.
Conversely, the leading-trailing shoe type presents an alternate method within self-adjusting drum brake mechanisms that sets it apart from its duo-servo counterpart. Such differing models contribute to a range of benefits and broaden the efficacy of self-adjusting drums in various braking applications.
The Mechanics of Self-Adjustment

Grasping the function of self-adjusting drum brakes offers valuable insights into their operational dynamics. When brake shoe wear causes a noticeable gap, the adjuster lever is activated, nudging the adjuster gear one notch at a time. This incrementally edges the shoes closer to the drum and ensures they remain at an optimal distance for effective braking.
The actuation of these adjustments predominantly occurs when reversing and applying brake pressure—this prompts the self-adjusting mechanism to extend in response to any wear on the shoes. Properly functioning brakes over time rely on this automated compensation. Regular application of the emergency brake aids in maintaining alignment within this system by preventing issues such as stiffness or corrosion that could interfere with its ability to automatically adjust.
Slack Detection and Engagement
Drum brakes utilize a self-adjusting system to identify any slack that may develop. This process operates on the principle of self-actuation, detecting when a space appears between the shoe and drum because of brake pad wear. If this happens, indicating the brake shoes are too far from the drum, it triggers an alert for adjustment due to detected slack.
During braking application, a linkage mechanism activates. This prompts movement in a lever which interacts with a ratcheted adjuster screw. Through this engagement, automatic adjustments are made as shoes continue to wear down over time—maintaining proper distance between pads and drums is crucial for efficient braking performance.
Fine-Tuning Brake Shoe Position
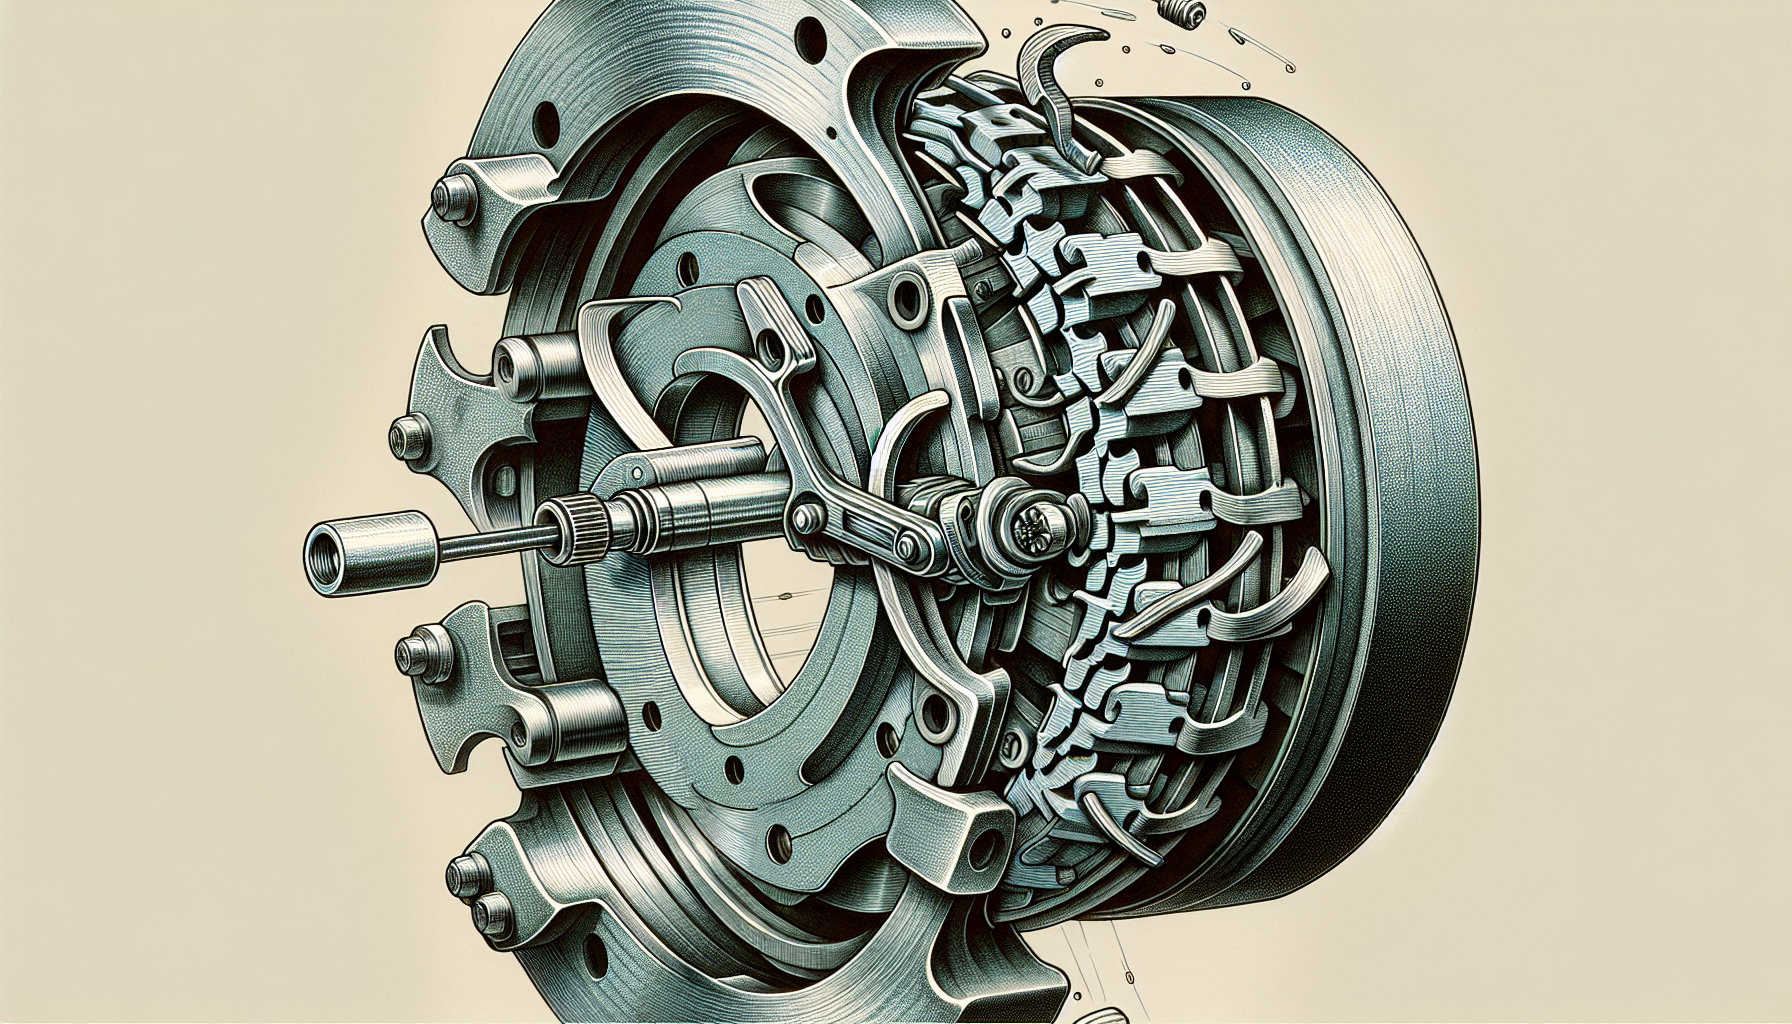
The star wheel adjuster is essential for maintaining the appropriate distance between the brake shoes and the drum. It facilitates adjustments, making them more or less snug as necessary. The functionality can be broken down into these steps:
It features a threaded configuration.
Rotating it causes it to unwind a bit, extending its length.
This movement repositions the brake shoes ensuring they make proper contact with the drum.
When a vehicle reverses and engages forceful braking, this prompts the star wheel adjuster to rotate in a specific direction, which automatically fine-tunes how close each shoe sits relative to their respective drums. After an adjustment has been made, ensuring that there’s correct tension involves spinning the wheel drum forwards. Successful tuning results in uniform resistance encountered from contacting brake shoes during this action.
Setting the Stage: Initial Manual Adjustment
Even though self-adjusting drum brakes are designed to regulate themselves, a crucial step in ensuring their peak performance is the initial manual adjustment. Performing this correctly primes the self-adjustment feature to function properly during normal operation of the vehicle.
Failing to execute precise initial manual adjusting can cause complications such as wear and accumulation of rust and dirt that might impair the brake’s ability for automatic self-regulation over time. Thus, establishing proper tension and alignment through an initial manual setup is critical for maintaining steady and dependable functioning of the self-adjusting mechanism.
The Role of Manual Adjustment in Self-Adjusting Systems
The initial manual adjustment of self-adjusting drum brakes is an essential step to prime them for autonomous fine-tuning. This process positions the brake shoes accurately, laying the groundwork so that the self-adjusting feature can maintain proper tension and alignment moving forward.
Beyond this preliminary setup, occasional manual adjustments may be needed to guarantee that automatic calibrations remain effective throughout regular use of the drum brakes. Consequently, such hand-tuned calibrations are vital in maintaining peak performance in self-adjusting drum braking systems.
Recognizing and Mitigating Self-Adjustment Issues
Self-adjusting drum brakes, similar to other mechanical systems, are susceptible to wear and tear which can impede their capacity for self adjustment. The enclosed design of these brake systems may lead to issues such as corrosion or accumulated heat that hinders the correct adjustment of the brake shoes.
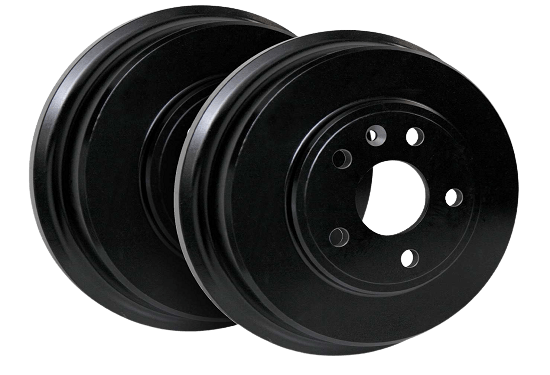
Over periods of extended use, drum brakes might experience warping from thermal expansion, which could affect the performance of their self-adjusting mechanism. Hence it’s essential to keep your brake drums clean and free of rust for them to function efficiently, and when replacement is necessary ensure that both brake drums are replaced simultaneously.
Signs of Wear and Malfunction
It is essential to identify the indicators of deterioration and malfunction in drum brakes to maintain their peak functionality. Keep an eye out for these key signs:
A brake pedal that feels low or spongy
The vehicle swerving to one side while braking
Noise emissions such as scraping or grinding during brake engagement
Excessive movement in the parking brake lever or pedal before it engages
These symptoms often signal a need for adjusting your drum brakes.
If you detect unusual sounds from the brakes, or find yourself needing to press the brake pedal all the way down to halt your vehicle, this could suggest that an adjustment is needed for rear wheel drum brakes. Glazing can occur when heat and wear cause hardening of pad material on drum brakes. This condition can hinder proper self-adjustment mechanisms within your braking system.
Maintaining Optimal Function
To ensure that your self-adjusting drum brakes operate at peak performance, it is essential to perform routine maintenance. This involves cleaning, lubricating, and replacing any components showing signs of wear. Accumulated brake dust from semi-metallic pads can interfere with the functioning of the drum brake’s self-adjusting mechanism which may result in problems with adjusting.
Henceforth, consistent inspection for corrosion and prompt replacement of defective parts within the drum brakes are crucial steps in preserving their self-adjustment capability. Cleaning the self-adjusting system using a hose paired with a suitable brake cleaner will help keep this vital part clean and fully functional.
Beyond Self-Adjustment: Regular Maintenance Imperatives
Even though drum brakes are designed to adjust themselves, it’s important to inspect them consistently. Driving conditions and accumulation of materials, along with typical wear and tear, can interfere with the performance of self-adjusting drum brakes.
Thus, routinely examining and maintaining your vehicle’s self-adjusting drum brake system is crucial. Such maintenance not only keeps the braking system functioning at its best, but also prolongs the durability of the drum brakes, securing their status as a dependable element in your vehicle’s overall safety mechanisms.
The Necessity of Regular Brake Checks
Routine brake inspections are crucial to identify wear and ensure safety, even when self-adjusting mechanisms are present in drum brakes. Regular inspections can detect early signs of problems in brakes, allowing for timely repairs and avoiding more extensive and costly damage.
Checking your brakes daily to ensure they maintain correct push rod travel, which should be less than one inch when manually pulled, is a recommended practice. Regular checks can reduce the likelihood of accidents by ensuring that brakes are in optimal condition and can stop the vehicle effectively in emergency situations.
Ensuring Longevity of Drum Brake Systems
Maintaining drum brakes through consistent inspection for wear on the brake shoes and verifying that the adjuster mechanism is unobstructed is crucial to maintaining their effectiveness and extending their life.
Cleaning drum brakes every 60,000 miles to clear away collected brake dust not only maintains cleanliness, but also safeguards against any potential interference with the self-adjusting feature of the brakes due to this buildup.
DIY Guide: Manually Adjusting Your Drum Brakes
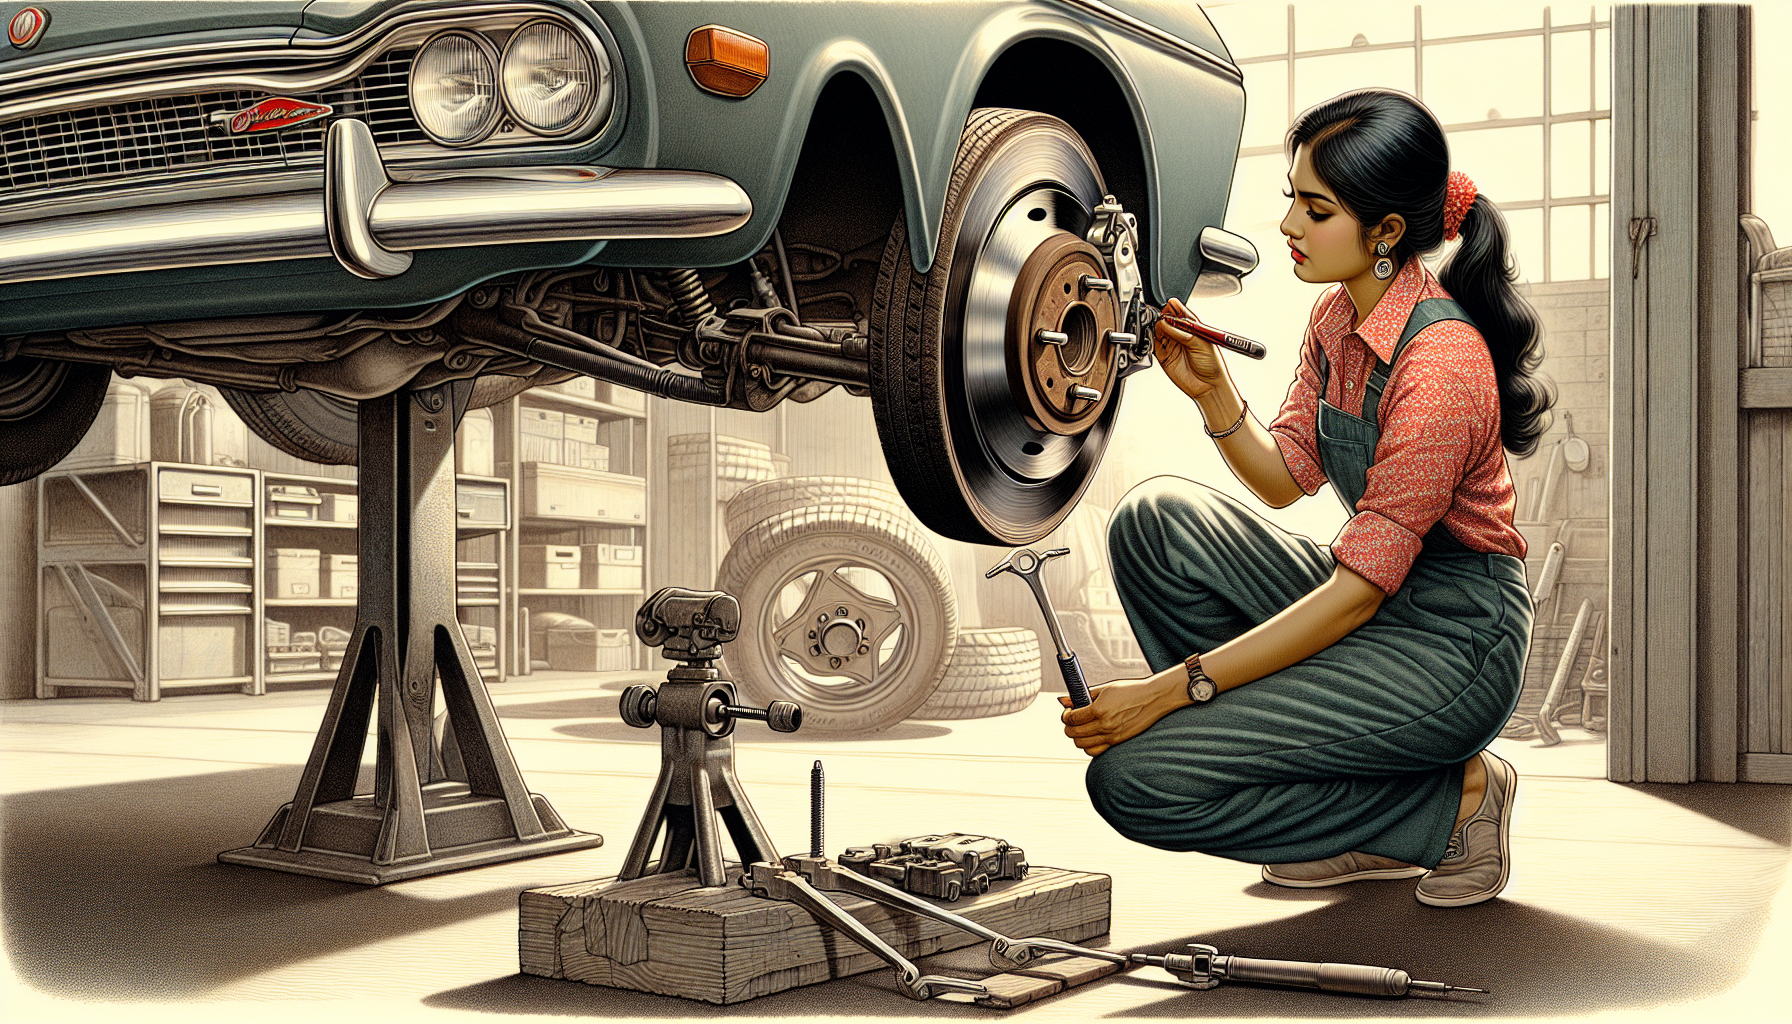
For car enthusiasts who take pleasure in performing their own maintenance, the process of adjusting drum brakes can provide a sense of accomplishment. This procedure involves raising the vehicle’s rear axle with a jack and taking off the wheels—much like when you change a tire—to make way for adjustment access to the wheel drum.
By placing one of the detached rear tires flat on its side beneath the central part of your vehicle’s undercarriage, you add an extra layer of security designed to prevent any potential fall from jack stands during maintenance. Once elevated securely and with its wheel dismounted, reaching for the star wheel through holes in the backing plate allows fine-tuning tension on brake shoes until there is minor resistance while spinning the drums by hand.
Tools You’ll Need
To carry out the manual adjustment of drum brakes, certain specialized tools are necessary. The brake spoon is an essential instrument for this job. It looks similar to a bent-shaft flat-head screwdriver and provides entry to the star wheel via the backing plate of the brake drum.
Other critical implements needed for adjusting drum brakes include a lug wrench plus a jack paired with jack stands. For secure execution of these adjustments on drum brakes, employing safety gear like chocks and perhaps even using a flashlight can be crucial.
The Adjustment Process
To adjust the brake, one must locate the star wheel and manipulate it using a brake spoon. This rotation can be in an upward or downward fashion based on the design of the brake, as rotating in one direction will serve to tighten while the opposite will loosen the connection between the shoes.
Optimal adjustment entails setting up close proximity of shoes to drum without generating any drag, which is critical for effective braking performance. Should there be excess tightness in brakes, employing a screwdriver becomes necessary. This tool pushes against the lever associated with the adjuster thereby freeing up the star wheel enabling its movement towards loosening side concerning brake shoes.
Summary
In summary, the intricacies of self-adjusting drum brakes exemplify an intriguing element within auto engineering that maintains reliable braking efficacy despite deterioration. Grasping how they operate, identifying indications of degradation and faults, along with performing routine upkeep, is crucial for their peak performance. Opting to trust experts or taking a DIY stance on managing your vehicle’s brake system can both improve your driving enjoyment and bolster road safety.
Frequently Asked Questions
Should you adjust self-adjusting brakes?
Despite the implication of their name, self-adjusting brakes do necessitate an initial adjustment to secure optimal brake function and performance.
What is the role of the adjuster lever in self-adjusting drum brakes?
When there is an expansion in the space between the drum and shoe, notably during stops made in reverse, the adjuster lever prompts a one-tooth advancement of the adjuster gear.
Such action guarantees that drum brakes are correctly adjusted.
What are the signs that drum brakes need adjusting?
Should you experience a spongy sensation or a decrease in height when pressing the brake pedal, your vehicle veering to one side while applying the brakes, hear scraping or grinding sounds, or encounter too much movement in either the parking brake lever or pedal before it engages, these are clear indications that an adjustment is required for your drum brakes.
How often should I check my drum brakes?
It’s important to inspect your drum brakes on a daily basis to confirm that the push rod travel is within safe limits, ideally not exceeding one inch when pulled by hand.
To guarantee the secure functioning of self-adjusting drum brakes, routine checks and upkeep are crucial.
Can I manually adjust my drum brakes at home?
Certainly, with the appropriate tools and understanding, you have the capability to manually adjust your drum brakes yourself. If there is any uncertainty in your ability to do so, it’s advisable to seek assistance from a professional for this task involving drum brakes adjustment.


