


When installing new brake pads and rotors, many drivers overlook one crucial step: the bed-in procedure. Properly bedding-in your brakes is essential to ensure they perform at their peak, last longer, and avoid premature wear. This process allows your new pads and rotors to settle and work together harmoniously, resulting in better stopping power, reduced brake noise, and a smoother driving experience.
In this blog post, we’ll walk you through why the bed-in process is necessary, how it works, and provide a step-by-step guide to ensure you bed-in your brakes properly.
Why Is the Bed-In Procedure Important?
When new brake pads and rotors are installed, the surfaces of both components are rough. During the bed-in process, the brake pads transfer a thin layer of pad transfer material onto the surface of the brake rotors. This pad transfer material enhances friction between the pads and rotors, optimizing your braking performance.
Without proper bedding-in, you risk:
- Uneven pad wear: This can lead to vibrations, noise, and inconsistent braking performance.
- Brake fade: Your brakes may overheat and lose effectiveness if the pad transfer material is not evenly applied.
- Shorter lifespan: Both your pads and rotors may wear out more quickly, requiring premature replacements.
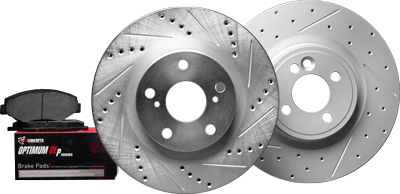
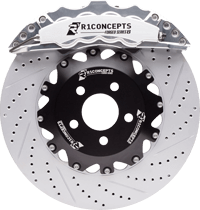
Bedding-in is especially important for performance brake components, like R1 Concepts brake pads and rotors, which are designed for higher stress and heat resistance.
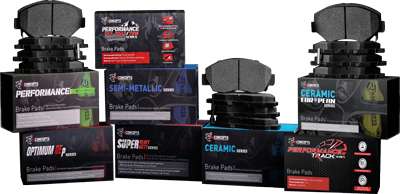
Choosing the Right Brake Pad Material
Choosing the right brake pad material is crucial for achieving optimal braking performance. Different brake pad materials offer varying levels of friction, heat resistance, and durability, which can significantly impact your vehicle’s braking efficiency. Here are the most common types of brake pad materials:
- Semi-metallic brake pads: Composed of a mixture of metal fibers and other materials, these pads provide excellent heat resistance and durability. However, they can be noisy and tend to produce more brake dust.
- Low-metallic brake pads: These pads contain a lower percentage of metallic fibers, offering a good balance between heat resistance, durability, and noise reduction.
- Ceramic brake pads: Made from ceramic fibers and other materials, ceramic pads excel in heat resistance, durability, and noise reduction. They are often more expensive but provide a quieter and cleaner braking experience.
- Organic brake pads: Constructed from organic fibers and other materials, these pads offer decent heat resistance and durability. However, they can be noisier and produce more brake dust compared to other types.
When selecting the right brake pad material, consider the following factors:
- Vehicle type and weight: Heavier vehicles may require more robust brake pads to handle the increased braking force.
- Driving habits and conditions: Frequent high-speed driving or towing may necessitate pads with higher heat resistance.
- Brake system type and configuration: Ensure compatibility with your vehicle’s braking system.
- Personal preferences for noise and brake dust: Choose pads that align with your comfort and maintenance preferences.
Consulting with a brake specialist or referring to your vehicle manufacturer’s recommendations can help you make an informed decision, ensuring your brake system delivers optimal braking performance.
Preparing Your Vehicle for Brake Bed-In
Before embarking on the brake bed-in process, it’s essential to prepare your vehicle to ensure a smooth and safe procedure. Follow these steps to get your vehicle ready:
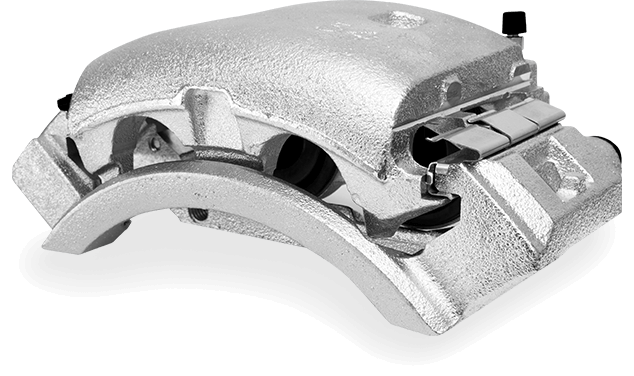
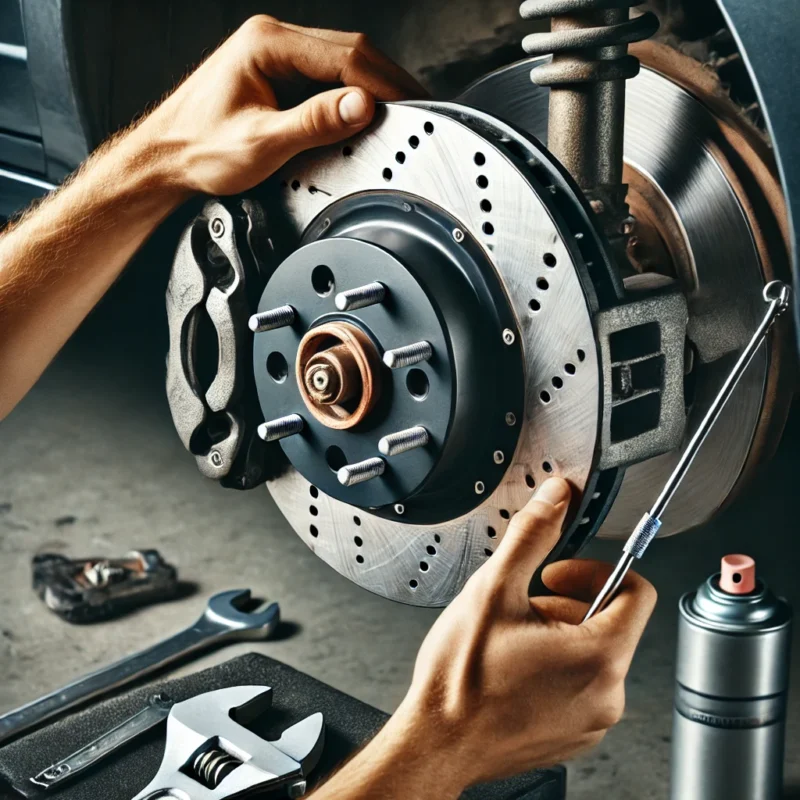
- Check the brake system: Inspect the brake system for any signs of wear or damage. Ensure that the brake pads, rotors, and calipers are in good condition.
- Clean the brake components: Clean the brake pads, rotors, and calipers to remove any dirt, dust, or debris that could affect the bed-in process.
- Check the brake fluid: Verify the brake fluid level and condition. Ensure the fluid is at the recommended level and free from contamination.
- Warm up the brakes: Drive the vehicle at a moderate speed for a few minutes to warm up the brakes. This helps distribute the brake fluid and prepares the brake components for the bed-in process.
- Find a safe location: Choose a safe, flat area to perform the brake bed-in process. Avoid busy roads or areas with heavy traffic to ensure safety.
- Set the parking brake: Engage the parking brake and set the transmission in park (for automatic vehicles) or in gear (for manual vehicles).
By following these steps, you can ensure a safe and successful brake bed-in process. Always refer to your vehicle manufacturer’s recommendations and consult with a brake specialist if you have any questions or concerns. Proper preparation is key to achieving smoother brake operation and maximizing the performance of your new brake pads and rotors.
How the Bed-In Process Works
During the bed-in process, heat and pressure are applied gradually to the disc brake pads and the brake system. This controlled heat cycle ensures the brake pad material is evenly distributed across the rotor surface, creating an optimal friction interface.
The goal is to:
- Heat up the pads and rotors to allow for controlled material transfer.
- Cool down the system slowly to help the material set properly on the rotor.
By following these steps, you’ll reduce the chances of issues like warping or glazing, ensuring a smoother and more consistent braking feel.
Step-by-Step Guide: How to Bed-In New Brake Pads
Here’s a detailed guide on how to properly bed-in your new disc brake pads and rotors. Properly bedding in new disc brake pads is crucial to ensure optimal braking performance. This process helps create a uniform layer of film on the rotors, which is essential for even grip and to prevent issues like brake judder.
Step 1: Find a Safe Location
Choose a safe, open area like a long stretch of road or an empty parking lot. Make sure the area allows you to accelerate and brake multiple times without interruption.
Step 2: Initial Braking
- Accelerate to 35-40 mph.
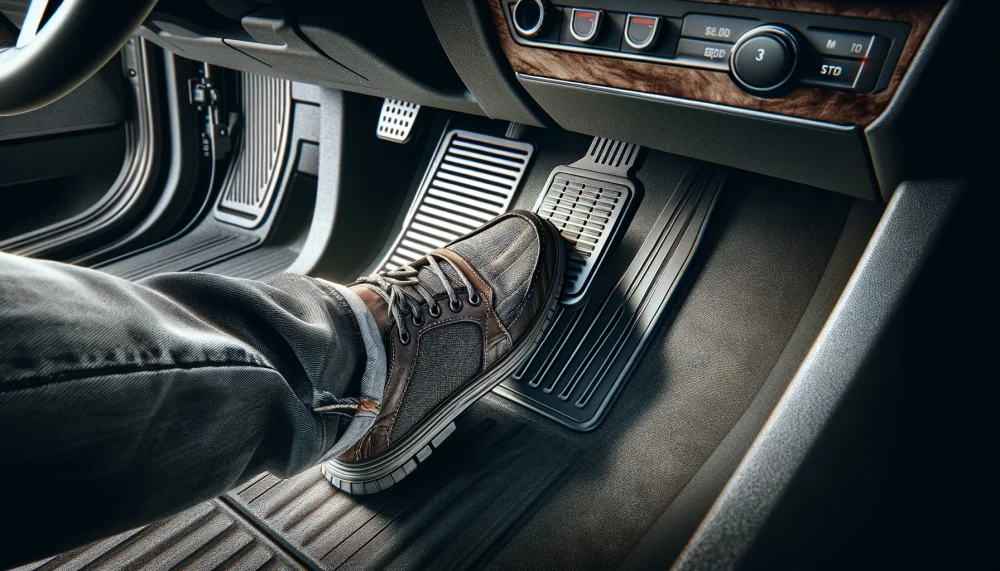
- Apply the brakes gently, bringing the car down to about 5-10 mph (don’t come to a full stop).
- Repeat this 5 times to gradually warm up the brakes.
Note: Apply the brakes smoothly, without aggressive or hard stops, to prevent overheating the pads and rotors.
Step 3: Medium Braking
- Accelerate to about 45-50 mph.
- Apply moderate pressure to the brakes and bring the car down to 5-10 mph again, without coming to a complete stop.
- Repeat this step 3-4 times.
This stage helps build up the heat needed to transfer the pad material onto the rotor without creating too much stress on the system.
Step 4: Hard Braking
- Accelerate to 55-60 mph.
- Apply firm pressure to the brakes (but not a full-force emergency stop) and reduce speed quickly to 5-10 mph.
- Repeat this step 3-4 times.
At this stage, you should start to feel the brakes responding more strongly and consistently. This means the transfer layer is forming properly.
Step 5: Cool Down
- After completing the hard braking, drive at a steady pace (around 40-50 mph) for about 5-10 minutes without using the brakes.
- This allows the pads and rotors to cool down slowly, preventing uneven material deposits or warping.
Tip: Avoid coming to a complete stop during the cool-down process, as keeping the pads pressed against the hot rotors can leave uneven pad material deposits.
Signs You’ve Completed the Bed-In Process Correctly for Optimal Brake Performance
After the procedure, you should notice:
- Improved brake response: The brake pedal will feel more firm, and the stopping power will be consistent.
- Smooth operation: There should be minimal noise or vibration during braking.
- Even wear: Both the pads and rotors will show an even wear pattern, without spots of excess material build-up.
Common Mistakes to Avoid During Brake Bed-In
- Coming to a full stop during the process: Stopping completely during the heat-up phases can leave pad material in one spot, causing uneven deposits on the rotors, leading to vibrations.
- Skipping the cool-down phase: Overheated brakes can lead to warped rotors if they don’t cool down properly, so be sure to drive around without using the brakes to allow for a gradual cooldown.
- Performing the bed-in process too aggressively: While you want to apply firm pressure during the final stage, avoid slamming the brakes as if you’re performing an emergency stop. This can overheat the pads and damage the rotors.
How Often Should You Bed-In Brakes?
- New Brake Installation: Always bed-in new brake pads and rotors after installation.
- After Resurfacing Rotors: If you’ve had your rotors resurfaced, the surface is essentially reset, and you’ll need to bed-in the brakes again.
- Track Days/High-Performance Driving: If you regularly take your car to the track or push your brakes to their limits, it’s a good idea to repeat the bed-in process periodically to ensure peak performance.
Brake Care After the Bed-In Process
To maintain the benefits of a well-bedded braking system:
- Inspect your brakes regularly for signs of wear and tear.
- Flush your brake fluid every 2-3 years to maintain braking efficiency.
- Replace brake pads when they wear down to less than 1/8 inch to prevent rotor damage.
If you’re driving in extreme conditions, such as towing or off-roading, consider upgrading to R1 Concepts brake pads and rotors. These are designed to handle more stress and deliver superior stopping power under high-heat, high-stress conditions.
Why Choose R1 Concepts for Your Brake System?
R1 Concepts offers high-performance brake pads and rotors that are perfect for drivers looking to improve their vehicle’s braking capabilities. Whether you’re using your vehicle for daily driving, towing, or performance driving, R1 Concepts products ensure you get the best performance possible, especially when combined with a proper bed-in procedure.
- Superior Performance: Optimized for high heat resistance and consistent stopping power.
- Enhanced Durability: Engineered to withstand extreme conditions and provide long-lasting reliability.
- Precision Fit: Tailored to fit your vehicle perfectly, ensuring smooth and easy installation.
Conclusion
The bed-in procedure is a crucial, yet often overlooked, step when installing new brake pads and rotors. By following these simple steps, you can maximize your braking performance, extend the life of your components, and ensure safe, reliable stopping power. Whether you’re upgrading to performance brakes or replacing OEM parts, be sure to invest time in this process—it makes a world of difference.
If you’re ready to upgrade your brake system or need expert advice, check out R1 Concepts for top-quality pads, rotors, and Big Brake Kits. With our products and the right care, you’ll enjoy better stopping power and improved safety on the road.
